ArduinOLED | Software Setup Tutorial
📅<-Back to ArduinOLED
Steps:
- Installing the Arduino IDE
- Downloading the Libraries
- Plug in the Programmer Cable
- Uploading the Example Sketches
- Next Steps
Installing the Arduino IDE
[Back to top]Visit the Arduino Software Page and click on the link for your operating system.
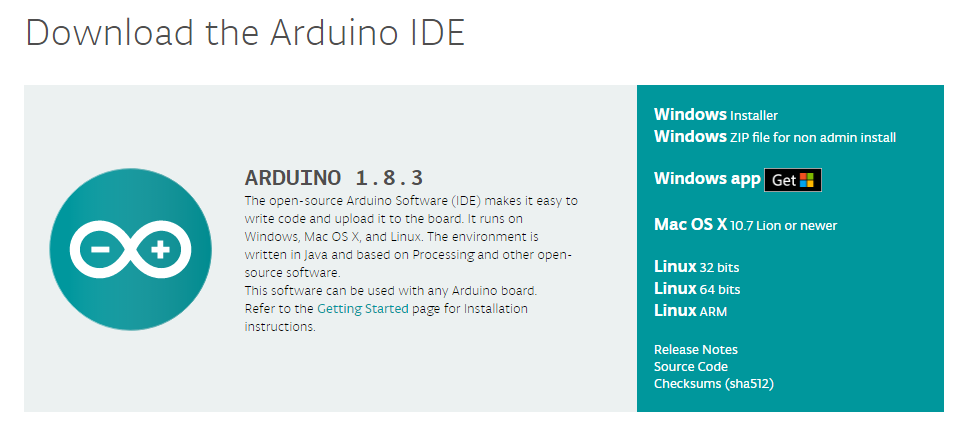
I chose "Windows Installer", but if you don't have admin access, download the "Windows ZIP file for non admin install".
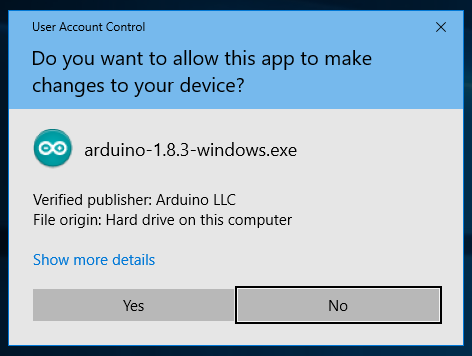
Click "Yes" when it asks you if the app should be allowed to make changes. Then click "Next" until the steps are done.
Downloading the Libraries
[Back to top]You need three libraries to use the ArduinOLED: the U8g2 library, the DirectIO library, and the ArduinOLED library.
The U8g2 library
Open the Arduino IDE and click "Sketch", then "Include Library", then "Manage Libraries..."
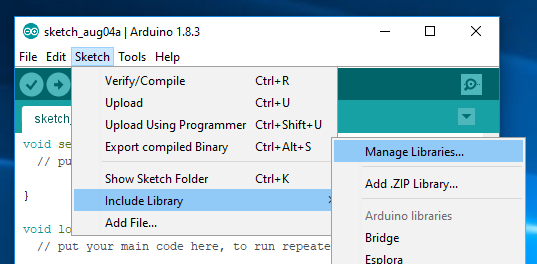
Type "U8g2" in the search bar and click "Install".

After it installs, click "Close".
The DirectIO Library
The DirectIO library provides a faster way to set the I pins on the Arduino if the pin number is a constant. It is needed by the ArduinOLED library in the next step.

Go to the link above, click the "Clone or Download" button, then Click "Download ZIP".
Alternatively, click this link to download the ZIP file:
https://github.com/mmarchetti/DirectIO/archive/master.zip
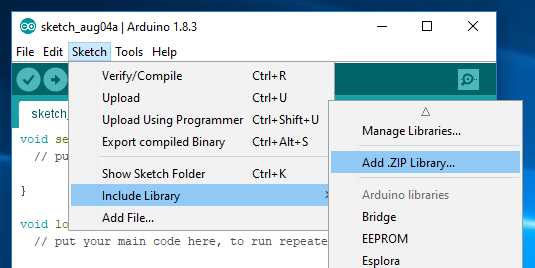
Then, in the Arduino IDE, click "Sketch", "Include Library", then "Add .ZIP Library".
Navigate to the "Downloads" folder, select "DirectIO-master.zip" that you just downloaded, and click "Open".
The ArduinOLED Library
The ArduinOLED library was written by me specifically for this board. The setup is very similar to that of DirectIO in the previous step.

Go to the link above, click the "Clone or Download" button, then Click "Download ZIP".
Alternatively, click this link to download the ZIP file:
https://github.com/johanvandegriff/ArduinOLED/archive/master.zip
Then, in the Arduino IDE, click "Sketch", "Include Library", then "Add .ZIP Library".
Navigate to the "Downloads" folder, select "ArduinOLED-master.zip" that you just downloaded, and click "Open".
Optional: Go to the Arduino libraries folder (Documents/Arduino/libraries) and rename "DirectIO-master" to "DirectIO" and "ArduinOLED-master" to "ArduinOLED".
Plug in the Programmer Cable
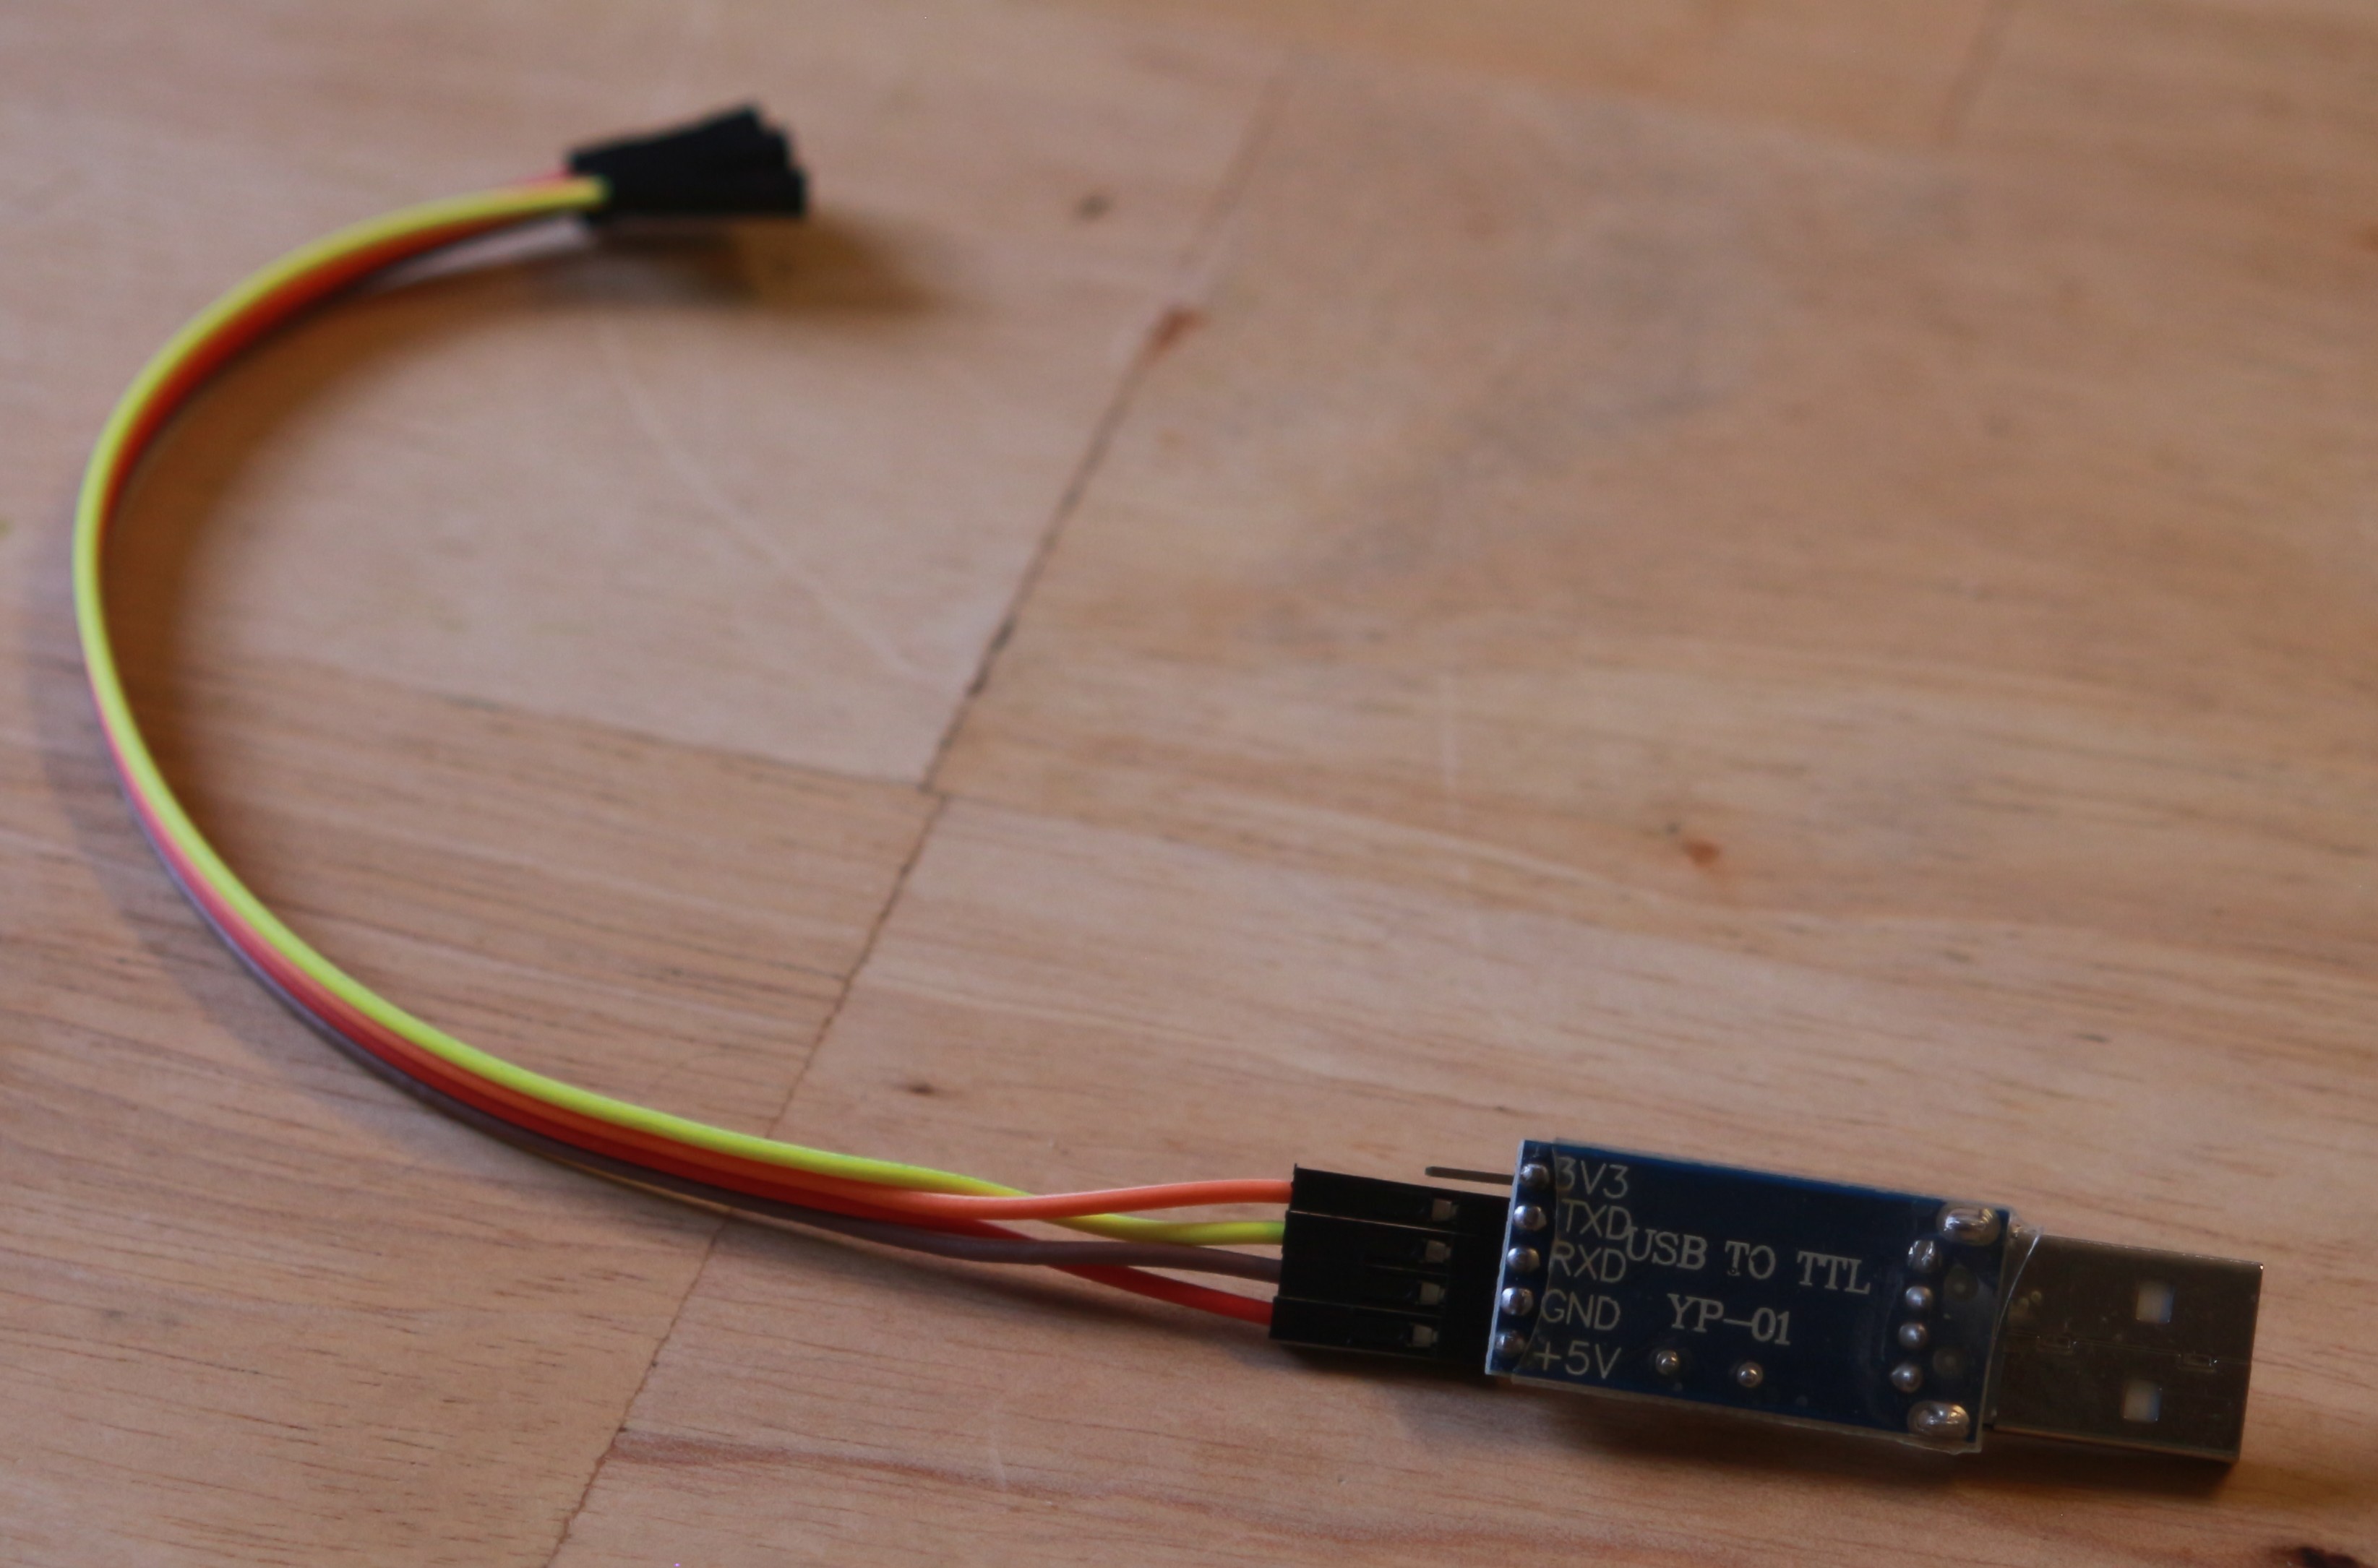
[Back to top]Look at the back of the programmer and find the pin labelled "GND". Make a note of the pin color:
Then plug the cable into the middle 4 pins of the connector on the ArduinOLED board, making sure the color you made note of is on the side labeled "GND".
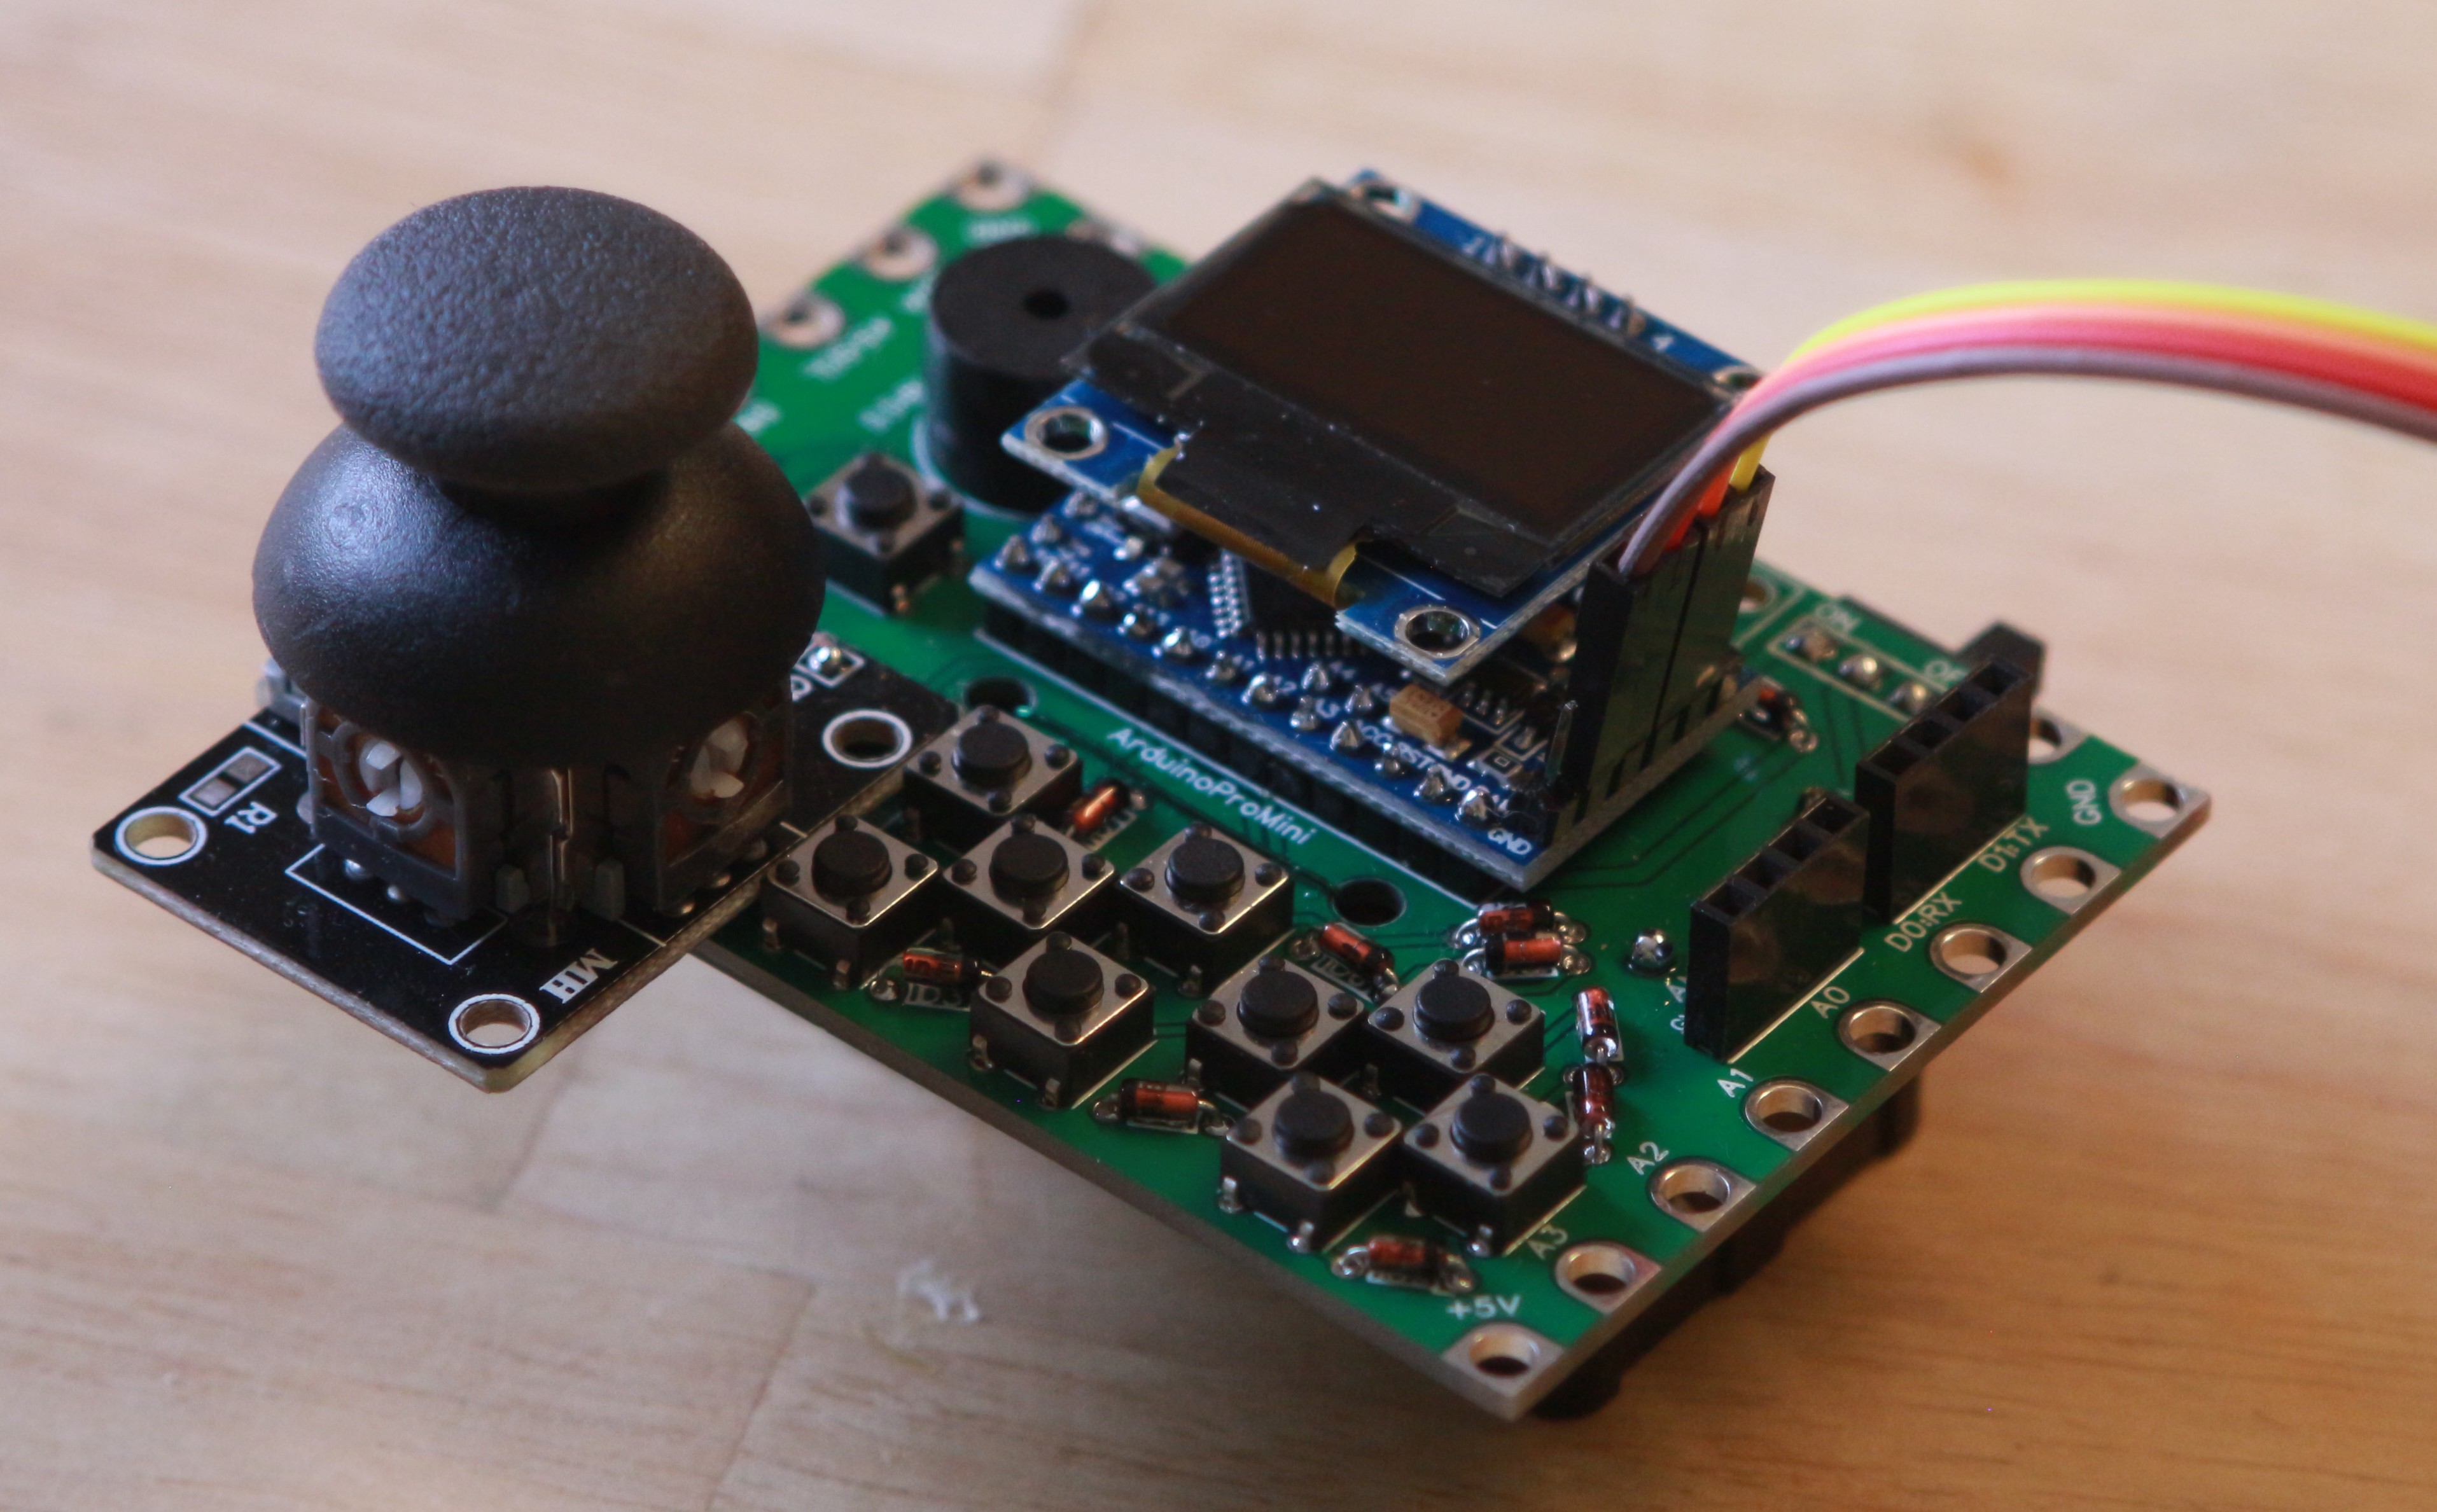
Finally, plug the USB end of the programmer cable into your computer.
Uploading the Example Sketches
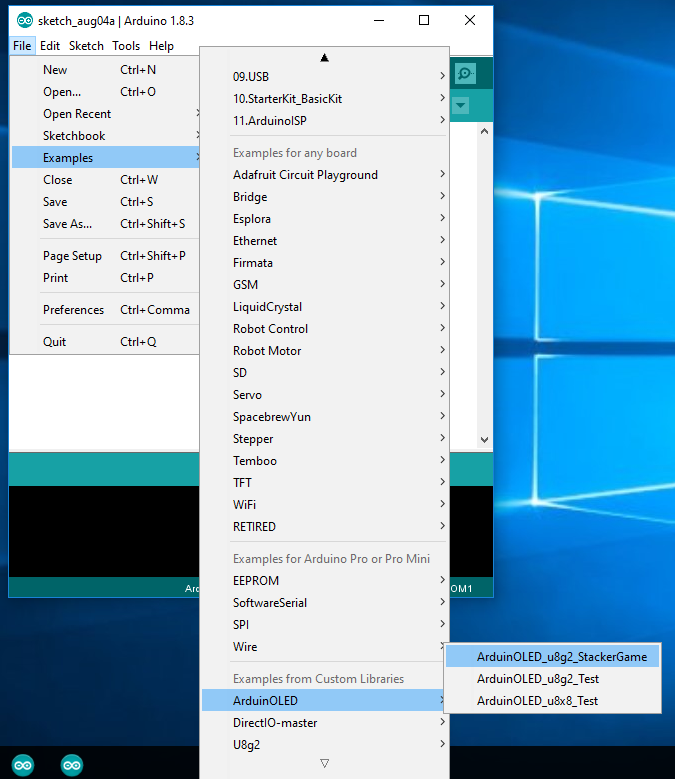
[Back to top]Click on "File", "Examples", "ArduinOLED", then "ArduinOLED_u8g2_StackerGame".
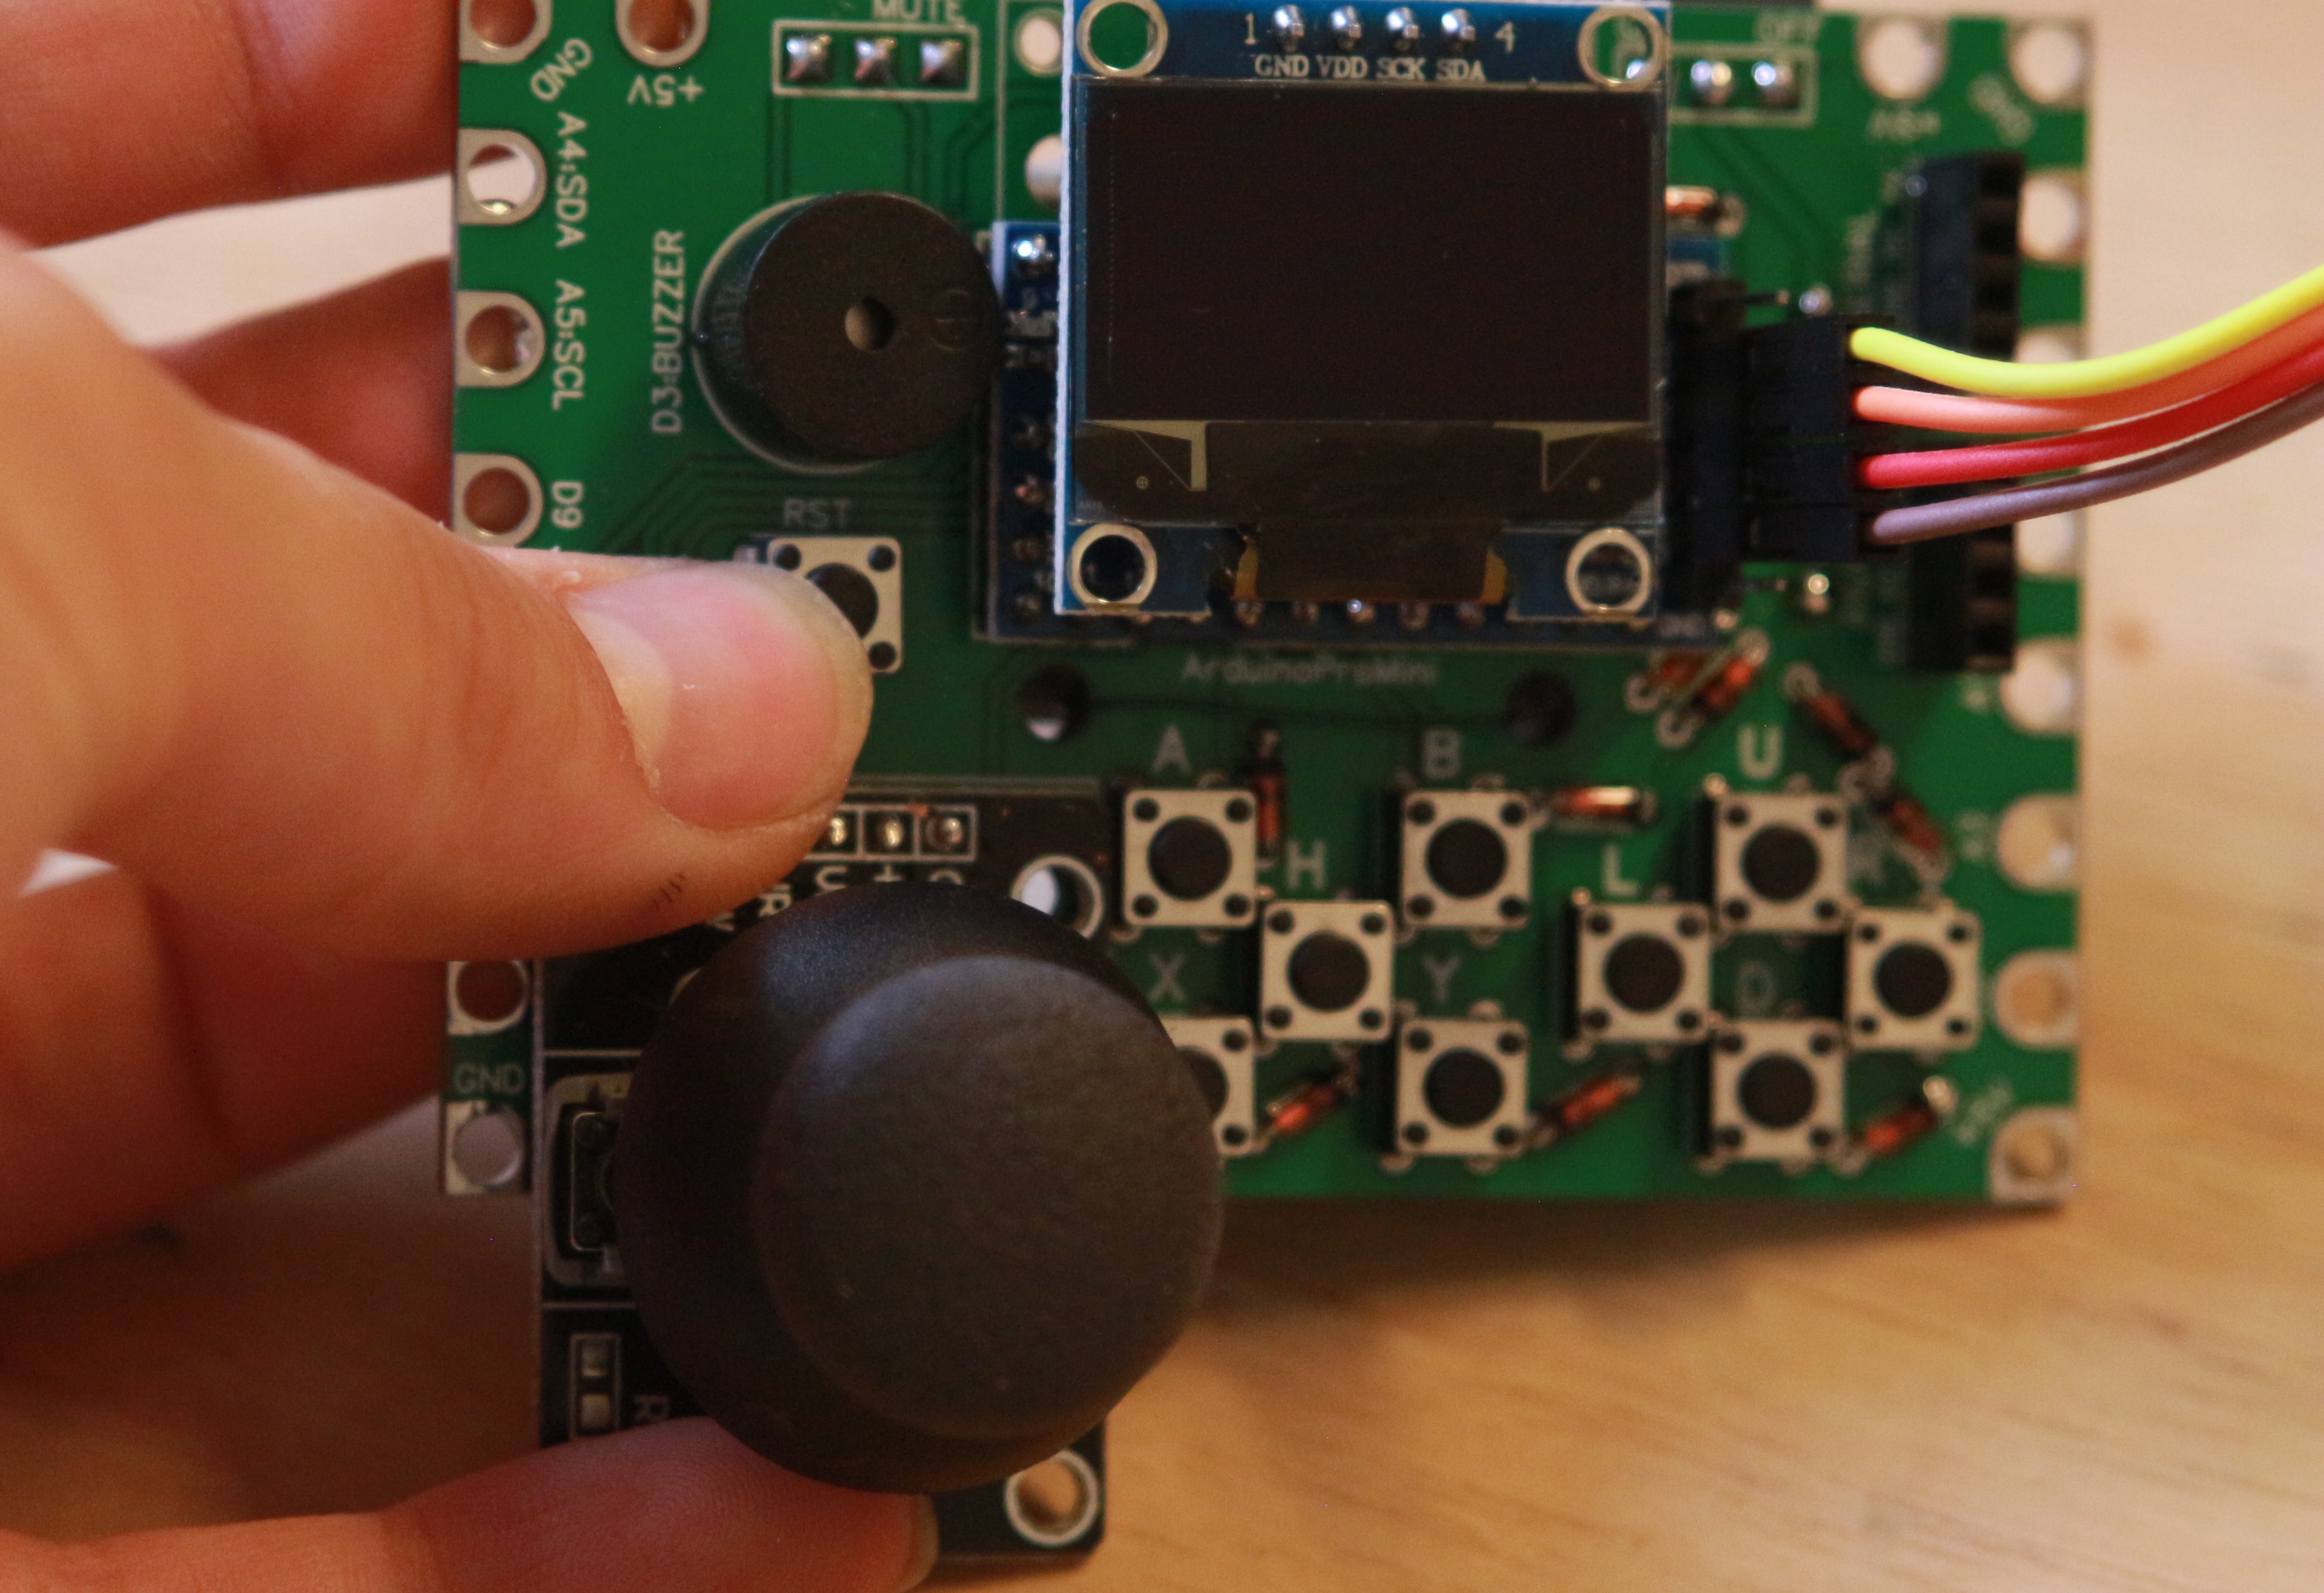
Hold down the button labelled "RST" on the ArduinOLED board:
Click the "Upload" button:
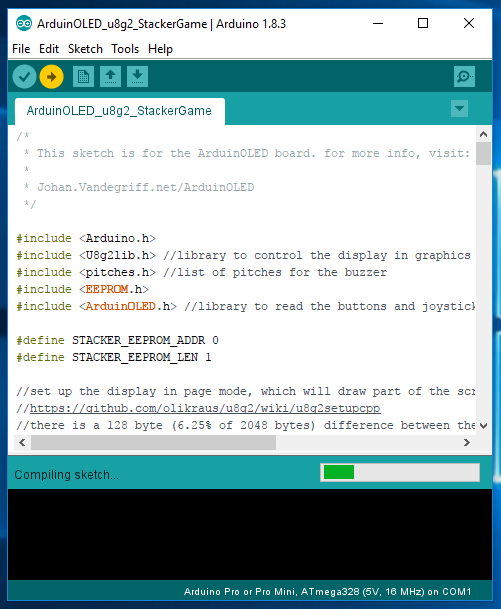
When the status changes from "Compiling..." and "Uploading...", release the "RST" button.
Text should appear on the screen:

Congratulations! You did it!
You may notice that the highscore for the game is 255. To reset it, hold down the "R" button while the ArduinOLED powers up (either from the power switch or reset button). You will see a screen telling you that the highscore was reset.
Next Steps
[Back to top]- Try out the other example sketches
- Try making some of the projects listed on the main ArduinOLED page